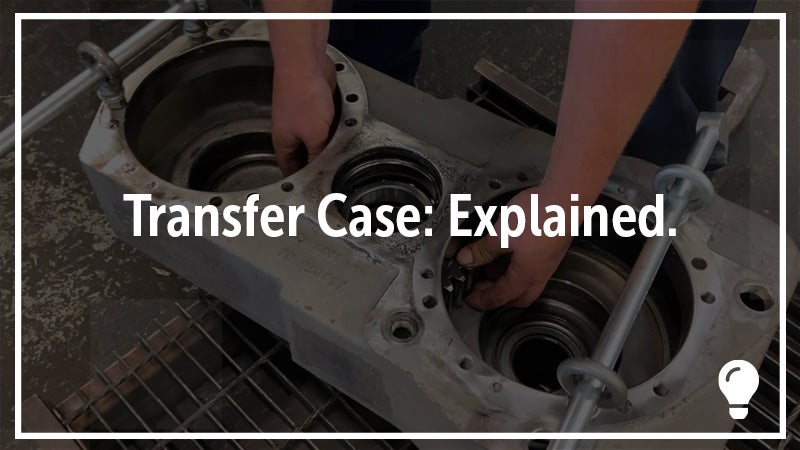
How to Rebuild a Transfer Case | Caterpillar D300E Transfer Case
A transfer case in heavy construction equipment is an important component in the transmission system, and though routine maintenance and care will keep a transfer case working smoothly for a solid chunk of time, no transfer case lasts forever. Regardless of if you’re reading this in anticipation of your own transfer case rebuild or you’re just big construction parts-obsessed like the H&R team, watch and read on to see our Parts Specialist Matt walk through the rebuild for a Cat D300E articulated truck.
General Tips for Transfer Case Rebuild
- Rebuilding a transfer case is a labor-intensive process so replacing any part that is showing wear will save money in the long term.
- If you’ll be disassembling, take the time to document how the transfer box came apart, shoot pictures, or takes notes and for much of the process you’ll just be working back in re-assembly.
- Many of the components of the transfer case fit together tightly. Oil and a rubber mallet will help the process, but often applying light heat will work best. At H&R, an industrial truck-in oven allows large parts to be heated to appropriate temperatures without risk to the parts or people.
Step-by-Step Tranfer Case Rebuild Process
» Remember: While many transfer cases share similar designs and components, every transfer case is different and this video and how-to is only a basic guide and explainer.
- Every part is cleaned and inspected. Bearings, seals, O-rings, and any other parts with heavy-wear are replaced with new parts.
- Beginning with the center gear a new bearing is pressed into the gear. Once complete, the gear is turned over and another new bearing is pressed in.
- The thrust washer is oiled and placed in the center of the housing. LOCTITE 518 gasket sealant is applied inside the housing to act as a sealing compound.
- The entire inside of the housing is thoroughly oiled to prevent any rust from forming when the transfer box is baked in the oven.
- A new snap ring is installed on the center gear.
- The center gear is now installed into the center of the housing.
- New bearings are placed on a hot plate to prepare them to expand to fit around the upper and lower gear shafts. A bead of water on the hot plate helps decipher if the bearings are ready.
- The upper drive gear bearing is installed onto the shaft.
- Attention moves to the retainer plate, where a brand-new bearing is pushed into the retainer plate, and a new snap ring is installed on the retainer plate.
- LOCTITE 518 is applied prior to installing the oil seal. Using a disc, the oil seal is pushed into the retainer plate.
- The now assembled bearing and shaft gear are installed into the upper drive gear of the housing.
- The lower drive gear is assembled with a new bearing, spacer, and snap ring.
- The lower drive gear is assembled into the housing.
- A new snap ring is installed onto the lower drive gear retainer plate.
- A new snap ring is installed in the center of the housing.
- A new bearing is pressed into the lower drive gear retainer plate.
- LOCTITE 518 is applied to the lower drive gear retainer plate, then the oil seal is pressed into the retainer plate.
- The upper and lower retainer plates are placed in the oven. The heating process will expand the bearings enough to allow the retainer plates to drop in on the top of the shaft. Afterwards, new O-rings are installed, and oil is applied.
- The housing is now taken to the oven to be baked. The heating process will assist in the expansion of the housing and allow the gears to properly fit inside.
- An oil guard is placed inside the housing and the gears are placed back into the housing.
- The housing will bake for 15 minutes and afterwards it will move back to the work bench.
- The upper and lower drive gear retainer plates are installed.
- The holes for the center gear must be perfectly lined up with the center of both the right and left gears.
- The center plate is installed.
- Oil is added to the gear and the yoke before installing the yoke.
- Once the yoke is installed, a new O-ring is installed to seal the yoke to the retainer plate.
- Two plugs on the outside of the housing are installed.
- The yoke for the second gear is oiled and installed.
- Both completed retainer plates are lined up with the axle shaft and then bolted onto the housing.
- The rebuild is completed successfully. The openings are sealed and plugged before being brought to shipping & receiving where it will be freshly painted.
- The final Caterpillar D300E Transfer Box is secured to a custom pallet and shipped to a customer.
If you've made it here, we hope you found some helpful tips and insight into your own transfer case research or projects from our Recon and Rebuild shop. At H&R, we support nearly 6K construction equipment machines and our parts specialists take pride in every project they work on. We hope you can see that in this article and in the video. If you're searching for a transfer case solution for your own heavy construction machine, let us know. And, if you liked what you read, sign up below.